Anúncios
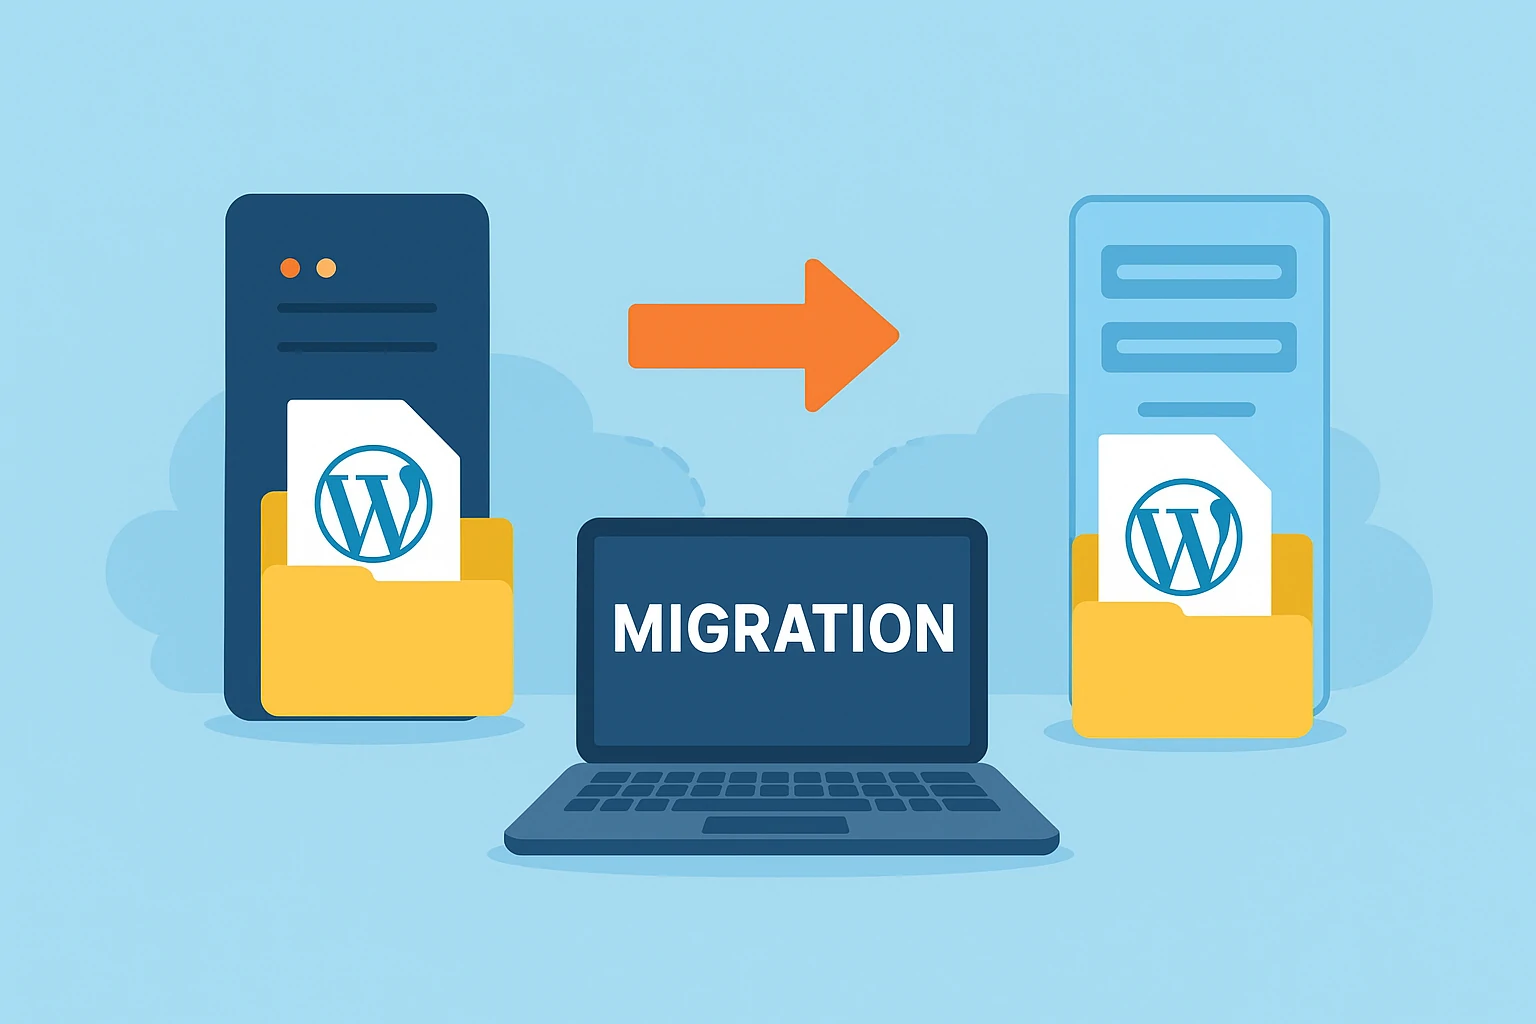
Migrating is not just about moving files from one server to another — it’s about preserving your digital presence, maintaining user trust, and ensuring uninterrupted access to your content. A well-executed migration can also serve as an opportunity to optimize your site’s performance, clean up unused plugins, improve database efficiency, and even enhance security configurations. When approached strategically, migration becomes more than a technical task — it’s a step forward in the evolution of your website’s growth and stability.
Why Migrating Your WordPress Site the Right Way Matters
A poorly executed migration can result in broken links, missing images, or even complete site failure. Beyond that, downtime can harm user trust and search engine rankings. A correct migration ensures your site performs optimally on the new server while keeping SEO authority and performance intact.
Anúncios
Here’s what can go wrong if migration is mishandled:
Anúncios
-
Downtime: Your site might be unavailable for hours or days.
-
Broken URLs: Incorrect file paths or permalink structures can disrupt navigation.
-
Database corruption: Data loss or malformed tables can occur during transfer.
-
SEO loss: Missing redirects or indexing issues can cause ranking drops.
Migrating properly means planning ahead, backing up, and testing every stage before going live.
Step 1 – Backup Your WordPress Website
Many website owners underestimate the importance of a complete backup before migration, but it’s your strongest insurance policy against data loss. Even the smallest error—like a corrupted file or an incomplete upload—can render your site inaccessible. By having a secure backup stored locally and in the cloud, you guarantee that no matter what happens during the transfer, your content, design, and configurations remain fully recoverable. Redundancy is key: always keep multiple copies in different locations for maximum safety.
Additionally, make sure your backup includes hidden or often-overlooked items such as your .htaccess file and any custom configurations added to your wp-config.php. These files contain critical settings that influence site performance, redirects, and security. Verifying the integrity of your backup after it’s created—by checking file sizes, testing restores, or using plugin validation options—can save you hours of troubleshooting later. A verified, complete backup gives you confidence to move forward with the migration process safely.
You can back up manually using FTP and phpMyAdmin, or use automated plugins like:
-
UpdraftPlus
-
All-in-One WP Migration
-
Duplicator
Store your backup safely on your computer or in cloud storage. This backup will be your safety net in case something goes wrong during migration.
Step 2 – Prepare the New Server Environment
Your new hosting environment must meet WordPress requirements such as:
-
PHP 8.0 or higher
-
MySQL 5.7 or higher
-
HTTPS support
-
Proper file permissions
Install WordPress on the new server or keep it ready for file import. Configure domain settings, SSL certificates, and ensure that the new server’s PHP configuration matches your old one.
This step ensures compatibility and prevents performance drops or plugin conflicts.
Also read: Robin Image Optimizer vs ShortPixel vs Imagify: The Ultimate Comparison
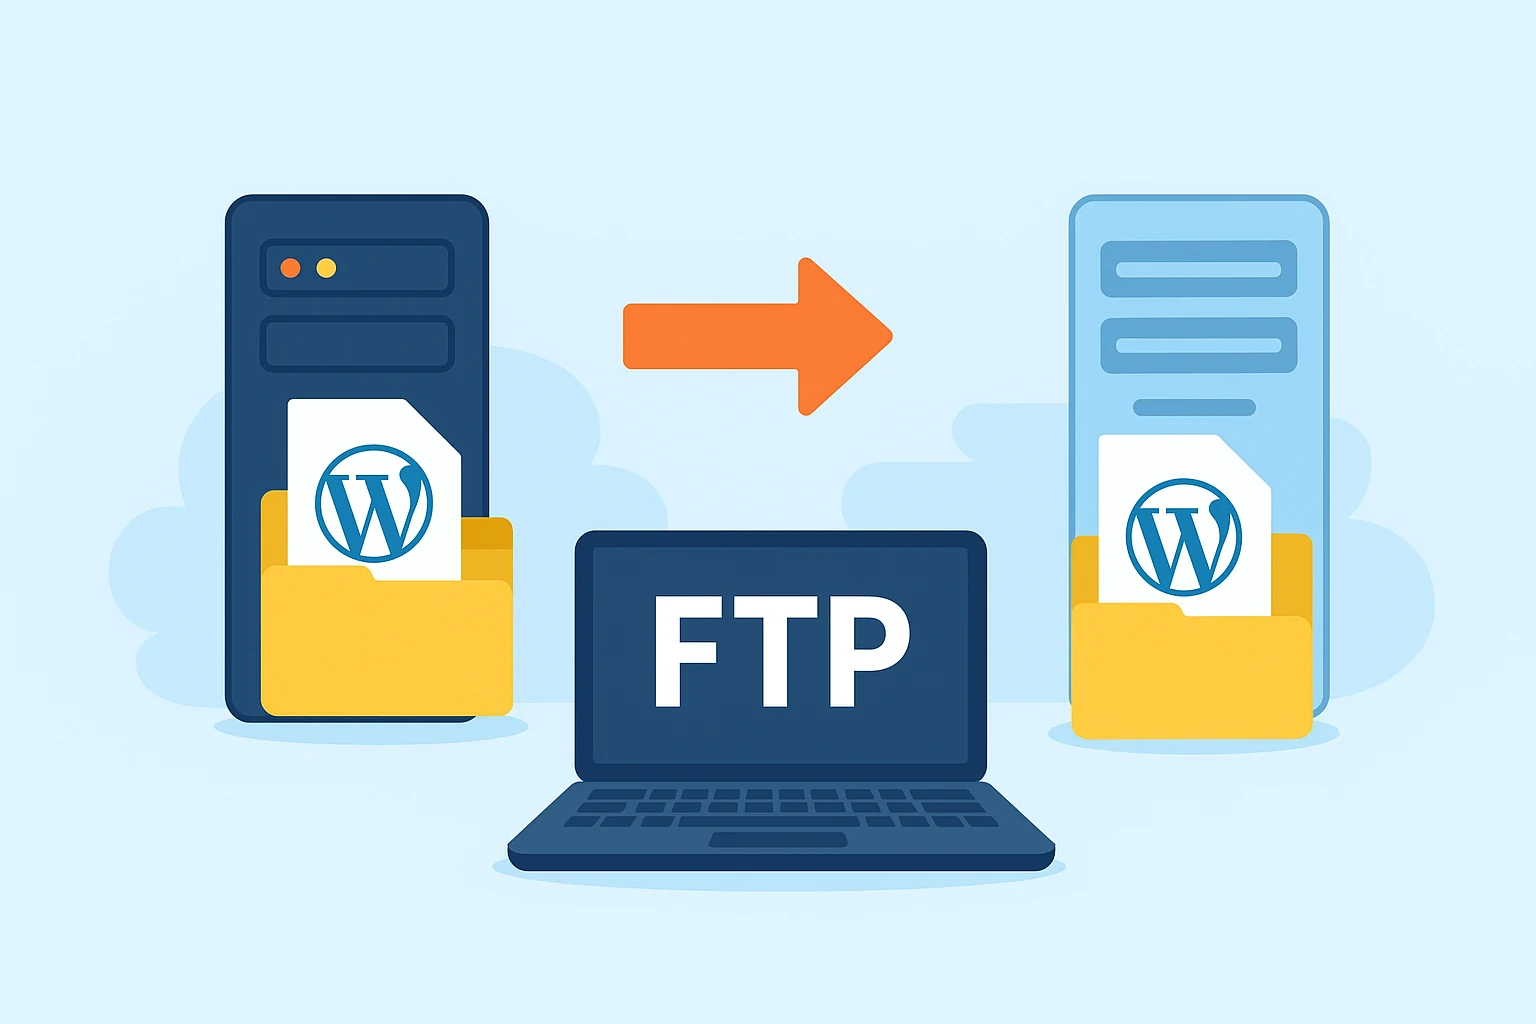
Step 3 – Transfer Your WordPress Files
To migrate your files, connect to your old hosting via FTP (File Transfer Protocol) using a client like FileZilla.

Download the following directories:
-
/wp-content/ – contains themes, plugins, and uploads
-
wp-config.php – contains crucial database and configuration settings
Once downloaded, upload these files to your new server in the corresponding WordPress directory. If WordPress is already installed there, overwrite existing files carefully.
Be sure to maintain file structure consistency—this ensures all paths and dependencies load correctly.
Step 4 – Export and Import Your Database
Next, move your database. Log into phpMyAdmin on your old host and select your WordPress database. Click Export and choose the SQL format.
Then, on your new host:
-
Create a new database and user with the same privileges.
-
Import the SQL file via phpMyAdmin or a similar tool.
-
Update wp-config.php with the new database credentials.
Example:
This connects your migrated site files to the new database.
Step 5 – Update URLs and Fix Permalinks
If your domain or directory changes, you must update internal URLs in the database. Use a plugin like Better Search Replace or a tool such as WP-CLI to update old domain references.
Afterward, log in to your WordPress dashboard on the new server and:
-
Go to Settings → Permalinks
-
Click Save Changes
This refreshes the permalink structure and ensures all URLs work correctly.
Step 6 – Test Everything Before Going Live
Before updating DNS records, preview your website using your temporary URL or hosts file modification. Check for:
-
Broken links and images
-
Plugin errors
-
Contact form submissions
-
Page loading speed
Testing before switching DNS prevents downtime for your visitors.
You can also run tools like Google PageSpeed Insights or GTmetrix to check performance on the new host.
Step 7 – Update DNS and Go Live
Once you’ve tested and confirmed everything works perfectly, update your domain DNS records to point to the new server’s IP address.
Propagation can take up to 48 hours, but your visitors should start seeing the new version quickly.
Keep both old and new hosting accounts active for a few days to avoid disruptions during DNS propagation.
Step 8 – Final Optimization and Security Checks
After migration, don’t forget to optimize performance and security.
-
Install a caching plugin like W3 Total Cache or WP Rocket.
-
Check SSL configuration with SSL Labs Test.
-
Reinstall CDN (if used) like Cloudflare.
-
Run backups again on the new host.
-
Update WordPress, plugins, and themes.
These actions ensure your website is stable, fast, and secure on its new home.
Common Mistakes to Avoid
Here are some frequent pitfalls that can derail your migration process:
-
Forgetting to back up your site first
-
Uploading files to the wrong directory
-
Missing serialized data when updating URLs
-
Skipping post-migration testing
Avoid these mistakes, and you’ll keep your site online without issues.
Also read: WordPress vs Shopify: Which Platform Should You Choose
H2: Best Plugins and Tools for WordPress Migration
The easiest way to migrate a WordPress site is by using reliable plugins. Here are the best:
-
All-in-One WP Migration: Great for beginners.
-
Duplicator: Ideal for complex or large websites.
-
WP Migrate DB Pro: Best for developers.
These tools automate database updates, file transfers, and configuration edits.
Also read: Best WordPress Speed Optimization Plugin
H2: Wrapping Up
Migrating a WordPress site doesn’t have to be a nightmare. By following these steps and planning carefully, you can transfer your site without downtime or data loss.
Remember to:
-
Back up everything
-
Transfer files and databases securely
-
Test before switching DNS
-
Optimize performance afterward
Handled correctly, migration can even improve your site’s speed, uptime, and scalability.
For more expert guides on hosting, servers, and WordPress optimization, visit Adcod’s blog.