Anúncios
In the era of streaming, cloud-concerns and home office demands, many tech-savvy users are opting for a home-based NAS (Network Attached Storage) solution rather than relying solely on third-party cloud services. In this post we will explore two excellent options: setting up a NAS with a Raspberry Pi (for a DIY, budget-friendly system) and using a more plug-and-play solution from Synology (for a polished experience). I have over 20 years copy-writing in the tech niche and I’ll guide you through best practices, SEO-friendly structure, and actionable steps to get your home NAS humming.
Why a Home NAS?
-
Full control of your data at home (no recurring cloud fees)
-
Scalable storage: you can use external drives or upgrade as needed
-
Local streaming (media server support) and remote access (when configured)
-
Backup hub for all your devices (PCs, laptops, mobile)
Given these benefits it’s not surprising that DIY enthusiasts and home offices alike favour one of these routes.
Also read: Best VPS Server for n8n Self-Hosted
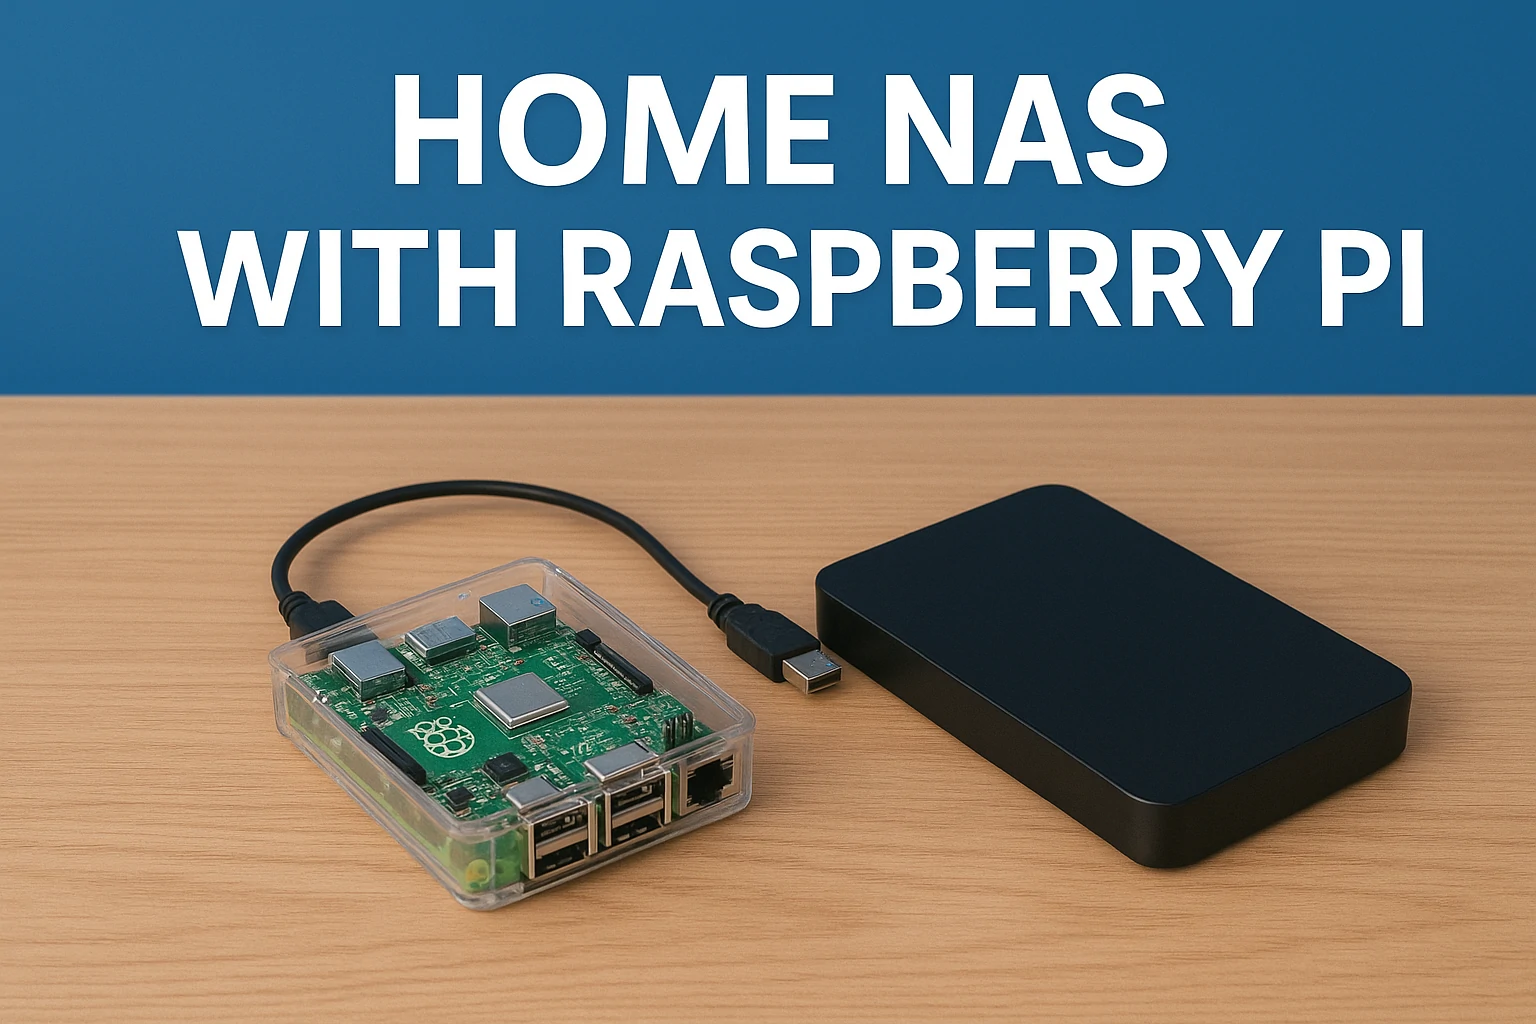
Option 1 – Raspberry Pi as NAS
Using a Raspberry Pi as a NAS is one of the most cost-effective and customizable ways to create your own home storage server. This tiny, powerful board can transform into a fully functional NAS with just a few components and some basic setup. Ideal for tech enthusiasts and DIY lovers, a Raspberry Pi NAS offers flexibility, low power consumption, and the freedom to tailor every aspect of your network storage.
Anúncios

What you need
-
A Raspberry Pi board (ideally Raspberry Pi 4 or above)
-
A sufficiently sized external hard drive or SSD (USB 3.0)
-
A quality SD card (32GB+ recommended)
-
A good power supply and case for the Pi to ensure cooling
-
Network connection (preferably Ethernet for stability)
Software choice
You’ll need NAS-oriented software. Popular choices include OpenMediaVault, Nextcloud combined with file-sharing services, or even native Samba/NFS on Raspbian/Ubuntu.
Step-by-step guide
-
Flash your chosen OS onto the SD card, insert into the Raspberry Pi and boot.
-
Configure network settings, update packages, secure SSH access.
-
Attach your external drive; format it (eg: EXT4 or NTFS depending on your needs) and mount it.
-
Install the NAS software (e.g., OpenMediaVault) and configure share folders, user accounts and permissions.
-
Configure network sharing protocols (SMB for Windows/macOS, NFS for Linux) and remote access if needed.
-
Enable optional features: media server (e.g., Plex), automatic backups, replication.
-
Make sure you secure the system: disable unused services, keep software updated, use a strong password.
Pros and cons
Pros: Low cost, full customization, educational, flexible.
Cons: Requires more setup and maintenance, performance depends on hardware (USB interface, Pi board limits), less plug-and-play than commercial NAS.
Ideal for
Tech-enthusiasts, minimal home offices, users comfortable with Linux and DIY.
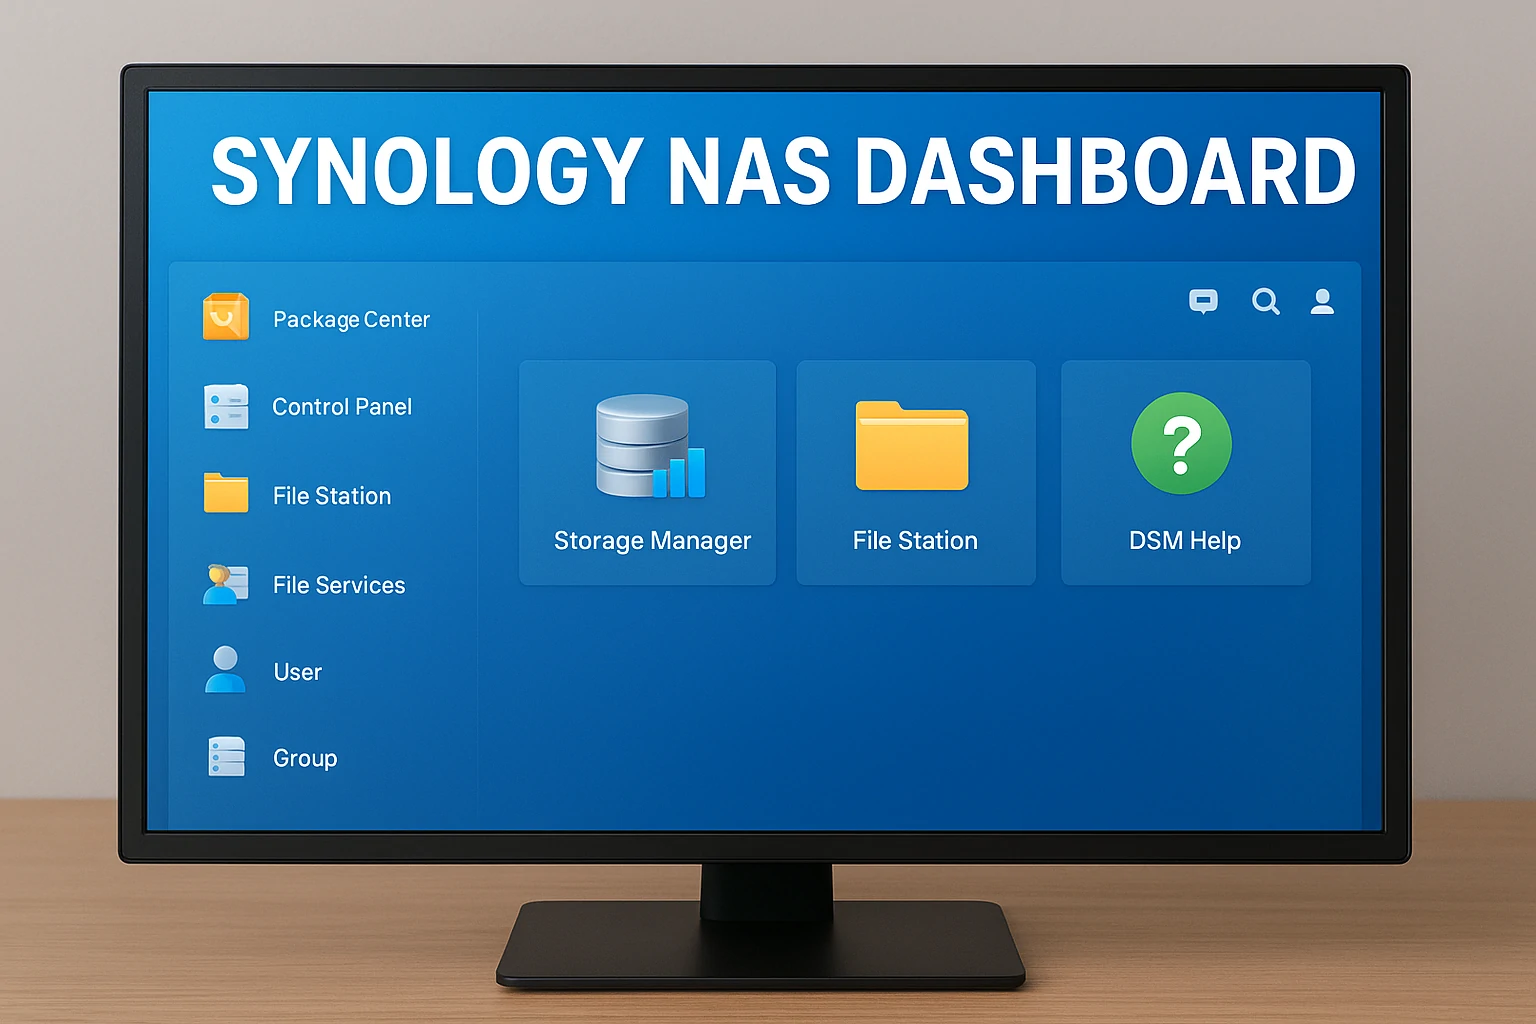
Option 2 – Synology NAS
A Synology NAS is the perfect choice for users who want professional-grade performance and simplicity without the complexity of manual setup. Designed for reliability and ease of use, Synology devices come with a powerful operating system, intuitive interface, and a wide range of apps for backup, media streaming, and remote access. It’s an ideal solution for home offices or families who want secure, centralized storage that just works out of the box.
What you need
-
A Synology NAS unit (2-bay or 4-bay depending on capacity needs)
-
Hard drives compatible with the NAS (preferably NAS-rated drives)
Setup overview
Synology NAS units come with a polished operating system (DiskStation Manager, DSM) and many built-in apps. The setup is simpler: insert drives, power on, access the web interface, and follow the wizard.
Key steps
-
Insert hard drives into the bays, power the unit and connect it to your network.
-
Access DSM via browser (e.g., http://find.synology.com) and initialize.
-
Create storage pool and volume, define RAID level (e.g., RAID 1 for redundancy).
-
Create shared folders, user accounts, permissions.
-
Enable file-sharing services (SMB, AFP, NFS) and remote access (QuickConnect or VPN).
-
Install apps: Backup, Cloud Sync, Media Server, Surveillance Station, etc.
-
Perform firmware updates, enable firewall/auto-block features for security.
Pros and cons
Pros: Plug-and-play experience, high performance, rich app ecosystem, dedicated hardware.
Cons: Higher cost, less hardware-tinkering freedom, proprietary.
Ideal for
Home offices, households with multiple users/devices, media enthusiasts wanting turnkey experience.
Also read: What is a white screen of death?
Choosing the Right Option for You
Choosing between a Raspberry Pi and a Synology NAS ultimately depends on your goals, budget, and technical comfort level. Each option has its strengths — from the flexibility and affordability of a DIY Raspberry Pi build to the seamless performance and reliability of Synology’s ready-to-use systems. Understanding what matters most to you, whether it’s customization, convenience, or long-term scalability, will help you make the right choice for your home network.
-
Budget: Raspberry Pi is cheaper.
-
Time/Skills: Synology is easier, Raspberry Pi requires more setup and tweaking.
-
Performance & features: Synology often offers better throughput and reliability out-of-the-box.
-
Expandability / tinkering: Raspberry Pi gives more DIY fun and flexibility.
-
Support & ecosystem: Synology has mature software, community and add-ons.
Best Practices for Home NAS Setup

Setting up a home NAS is just the beginning — maintaining its performance, reliability, and security requires following a few essential best practices. From ensuring stable network connections and proper ventilation to configuring backups and securing remote access, these steps help you get the most out of your system. By implementing smart habits early on, you can keep your NAS running smoothly, protect your data, and enjoy worry-free access to your files anytime.
-
Place your NAS in a well-ventilated area to avoid overheating.
-
Use wired Ethernet rather than WiFi for stability and speed.
-
Use appropriate RAID or redundancy (for Synology) or regular backups (for Raspberry Pi) — hardware fails.
-
Secure remote access: enable VPN, strong passwords, limit port exposure.
-
Monitor health of drives and system logs — preventive maintenance pays off.
-
Enable automatic backup of your NAS to off-site or cloud storage for disaster recovery.
-
Keep software/firmware up to date to prevent vulnerabilities.
-
Consider using dynamic DNS or static IP if you plan to access remotely.
-
Organize your folders, naming schemes, user permissions from day one to avoid chaos.
SEO & Content Tips for Your Blog
Optimizing your NAS setup article for SEO is crucial to attract readers and boost visibility across search engines. By strategically using keywords, crafting engaging headlines, and linking to related internal content, you can improve ranking while providing genuine value to your audience. A well-optimized post not only drives traffic but also strengthens your site’s authority, keeping visitors engaged and encouraging them to explore more of your tech insights.
Since this post is for the site ADCOD, make sure you:
-
Use target keyword “home NAS setup”, “Raspberry Pi NAS”, “Synology NAS home” early in the text.
-
Use H1 and H2 appropriately (as you see).
-
Use internal links to existing posts on ADCOD such as “how to choose a network drive” or “best home server hardware” (for example link to
https://adcod.com/how-to-choose-network-driveorhttps://adcod.com/home-server-hardware-guideif those exist). -
Include alt-text for images (see suggestions below).
-
Make sure page load speed is fast, headings are optimized, and meta title/description include keywords but are natural.
-
Encourage social sharing, perhaps include a CTA at end: “Share if you found this helpful”.
-
Provide value in the content so that visitors stay longer, reducing bounce rate.
Conclusion
Whether you choose a DIY path with Raspberry Pi or a more structured system with Synology, setting up a home NAS is a savvy move in today’s digital world. You’re gaining control over your data, enabling media streaming, centralizing backups, and future-proofing your home network. Take your time, follow best practices, secure the system, and soon you’ll have a reliable home NAS solution.
For further reading, don’t forget to browse our other posts on ADCOD, such as how to choose external drives and network encryption techniques. Get started today and enjoy the freedom of your own home storage hub.
Also read: Why some ports are blocked?