Anúncios
Welcome to the technology blog of ADCOD – in this post I’ll guide you through configuring your development environment using Visual Studio Code (VS Code) plus an essential set of extensions that will boost your productivity, maintain code quality, and streamline your workflow. With over 20 years of copywriting experience in the tech niche I’ll also ensure you get the right structure, SEO-friendly content, and actionable advice.
Why choose VS Code for your development environment?

VS Code is a powerful, lightweight, and highly customizable code editor created by Microsoft. It supports multiple platforms (Windows, macOS, Linux) and offers features such as intelligent code completion, debugging, version control, and extensive extension support.
By selecting VS Code as the core of your environment you gain flexibility, speed, and scalability for modern development across web, backend, scripting, and full-stack projects.
Anúncios
Step 1 – Install VS Code and initial configuration
Begin by downloading and installing VS Code if you don’t already have it. Once installed, open it and follow these initial configuration steps:
-
Choose your preferred theme (light or dark) and font settings for readability.
-
Go to File → Preferences → Settings (or use the shortcut) to adjust editor behaviour: auto-save, format on save, etc.
-
Make sure you enable the Extensions view (Ctrl+Shift+X or ⇧⌘X) to browse and install further tools.
-
Optionally create Profiles if you work with different tech stacks (for example web-dev vs data-science) so each profile only loads relevant extensions.
At this stage you have a clean base. The next step is to introduce the extensions that will turn VS Code into a full-blown productivity hub.
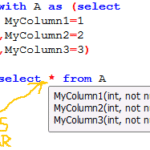
Also read: How do I see query results in SQL Developer?
Anúncios
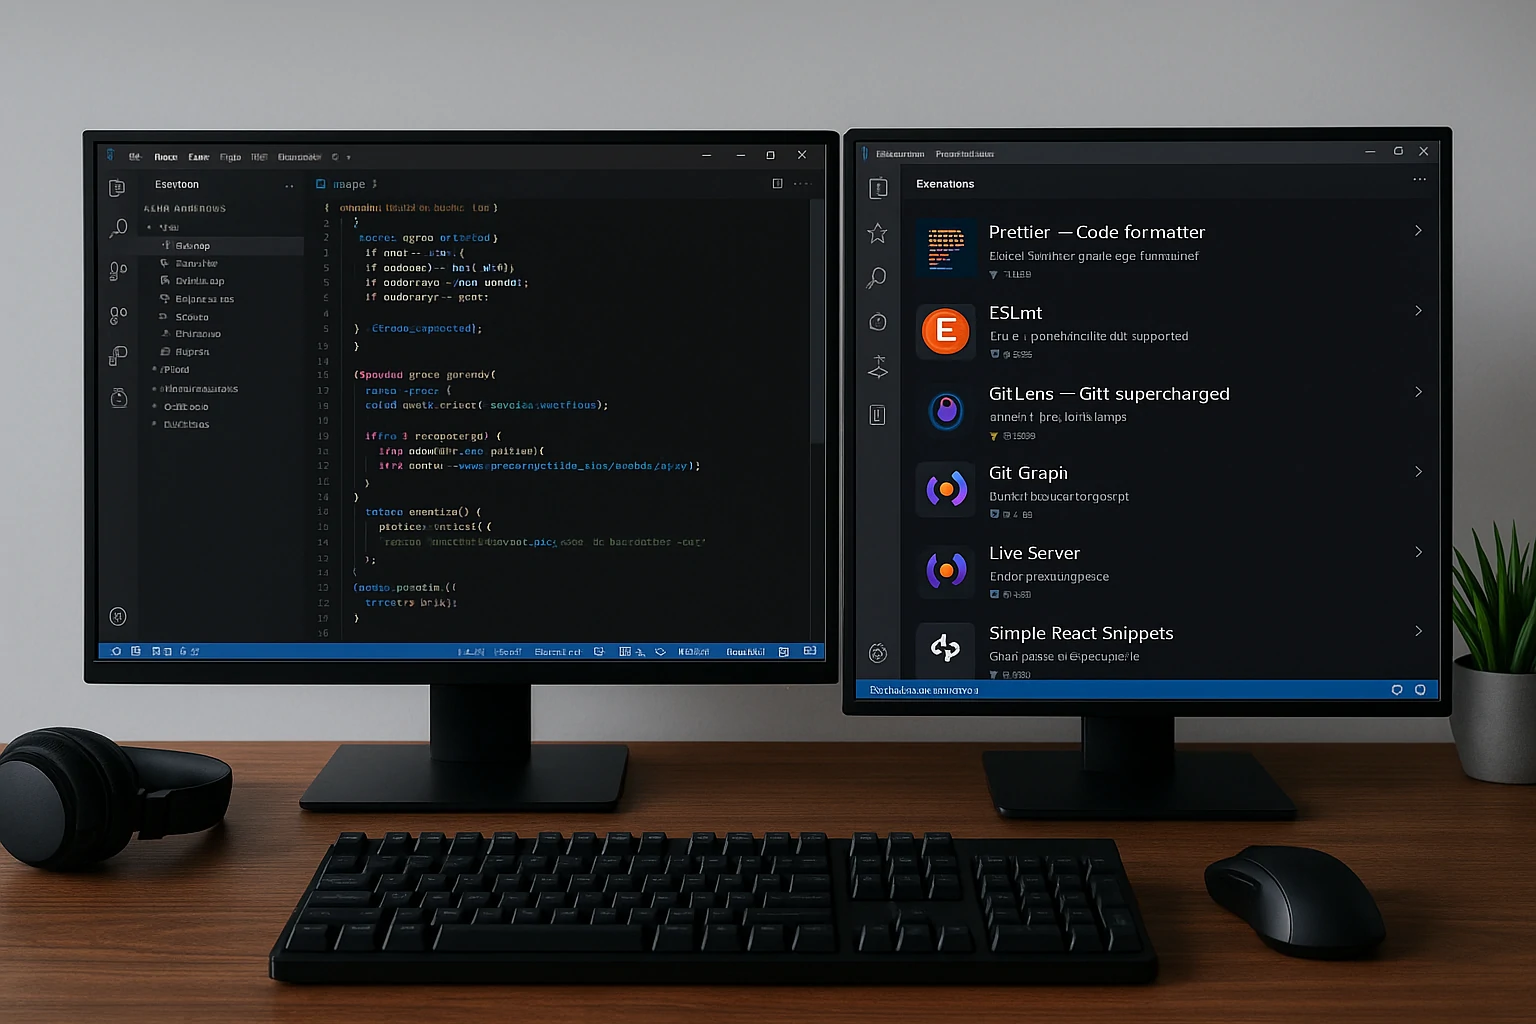
Step 2 – Must-have VS Code extensions for productivity
Below we cover a curated list of extensions you should consider installing. These cover formatting, linting, Git integration, debugging, code snippets, and more. Many recent videos point to these tools. For example, a video titled “The ULTIMATE VS Code Setup – Extensions & Settings 2025” details many of them.
Formatter & Linter
-
Prettier – Auto-formats your code according to consistent style rules.
-
ESLint – Enforces code quality and style rules especially for JavaScript/TypeScript.
This pair ensures clean code, fewer style discussions, and quicker reviews.
Git & Version Control Integration
-
GitLens – Enhances VS Code’s built-in Git support with blame annotations, history views, and insights.
-
Git Graph – Provides a visual graph of your commit history inside VS Code.
Using these extensions means you stay inside your editor for most Git workflows, reducing context-switching.
Live Development & Snippets
-
Live Server – Instantly launches a browser preview for HTML/JS/CSS projects and reloads on file save.
-
Simple React Snippets (or equivalent) – If you work with React, snippets save time for common patterns like functional components, hooks, etc.
These tools accelerate front-end iteration and reduce boilerplate.
Productivity Enhancers & AI Tools
-
IntelliCode – AI-assisted code completions and suggestions (works with many languages).
-
Peacock – Colors the VS Code window differently for different projects, helping you visually distinguish environments.
-
Code Spell Checker, Better Comments – These smaller extras help improve readability, documentation quality and reduce errors.
Together they add finesse and polish to your environment.
Markdown & Documentation
-
Markdown All in One – Makes editing markdown files more efficient (useful when your project has READMEs, docs, or wiki files).
-
Auto-Open Markdown Preview – Automatically opens the side-by-side preview to see changes live.
If you keep documentation alongside code (which you should), this makes a big difference.
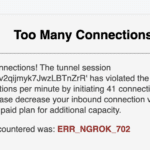
Also read: What is error code and exception conditions?
Step 3 – Profile your workflow and project templates
Once you have extensions installed you should tailor VS Code for your typical workflow. Here are recommended actions:
-
Create a workspace file (e.g.,
project.code-workspace) that pre-loads the folder structure, configures recommended extensions, and saves settings specific to that project. -
Use .vscode/settings.json inside your project to override global settings per project (for example enabling a specific formatter, disabling others).
-
Configure keyboard shortcuts, tasks, and launch configurations so you can run, test, debug your code using minimal keystrokes.
-
Use Profiles (VS Code feature) or manually maintain lists of extensions per technology stack (web, backend, data science). This keeps your editor lean and relevant for each context.
Workflow and Templates
Step 4 – Configuring key settings for performance and usability
To make the environment smooth and efficient, consider these configuration tips:
-
Enable Format On Save and Organize Imports so your code is always clean without manual invocation.
-
Enable Auto Save (optional) especially for rapid iteration.
-
Set your editor.fontSize, lineHeight, tabSize, etc targeting your screen resolution and comfort.
-
Optimize Git UI: enable “Compact View” in GitLens, set up custom Git commands if you use advanced workflows.
-
Disable or uninstall unused extensions — fewer extensions means less memory usage and faster startup.
-
Ensure you keep VS Code and all installed extensions up to date so you benefit from performance improvements, bug fixes, and new features. The official docs emphasise that the Marketplace provides updates and protects you via publisher trust.
Step 5 – Best practices for long-term maintenance
Once your environment is set up you’ll want to maintain it so it remains efficient. Follow these practices:
-
Periodically review installed extensions and remove those you no longer use.
-
Keep a settings backup (VS Code lets you sync settings via Settings Sync) so you can recover easily on a new machine or after a reinstall.
-
Use version control for
.vscode/folder (workspace settings) where appropriate for team consistency. -
Document your setup (which extensions, key settings, project templates) in a markdown file inside your project or team wiki.
-
Stay informed about new extensions or major updates (for example new AI tools inside VS Code) by watching tutorial videos or blog posts (see suggested below).
-
When working in a team, create a project-workspace.md or development-environment.md that states the required VS Code version, recommended extensions, settings overrides and any project-specific tasks/configurations.
Summary
By following this guide you will:
-
Install and configure VS Code with optimal settings.
-
Equip your environment with powerful extensions for formatting, linting, Git, snippets, documentation and more.
-
Tailor VS Code via profiles, workspace settings and templates to match your workflow.
-
Maintain a clean, efficient environment that scales with your projects and evolves over time.
Take the time to set this up properly now and your future self (and your team) will thank you every time you code. Happy developing.
Also read: Where do you put media queries in HTML?