Anúncios
Setting up a local server environment is one of the first steps for any web developer who wants to build, test, and run projects safely before publishing them online. Whether you are creating a new website, testing PHP scripts, or working on a WordPress installation, having a local environment can save time, protect your files, and help you understand how a real server works.
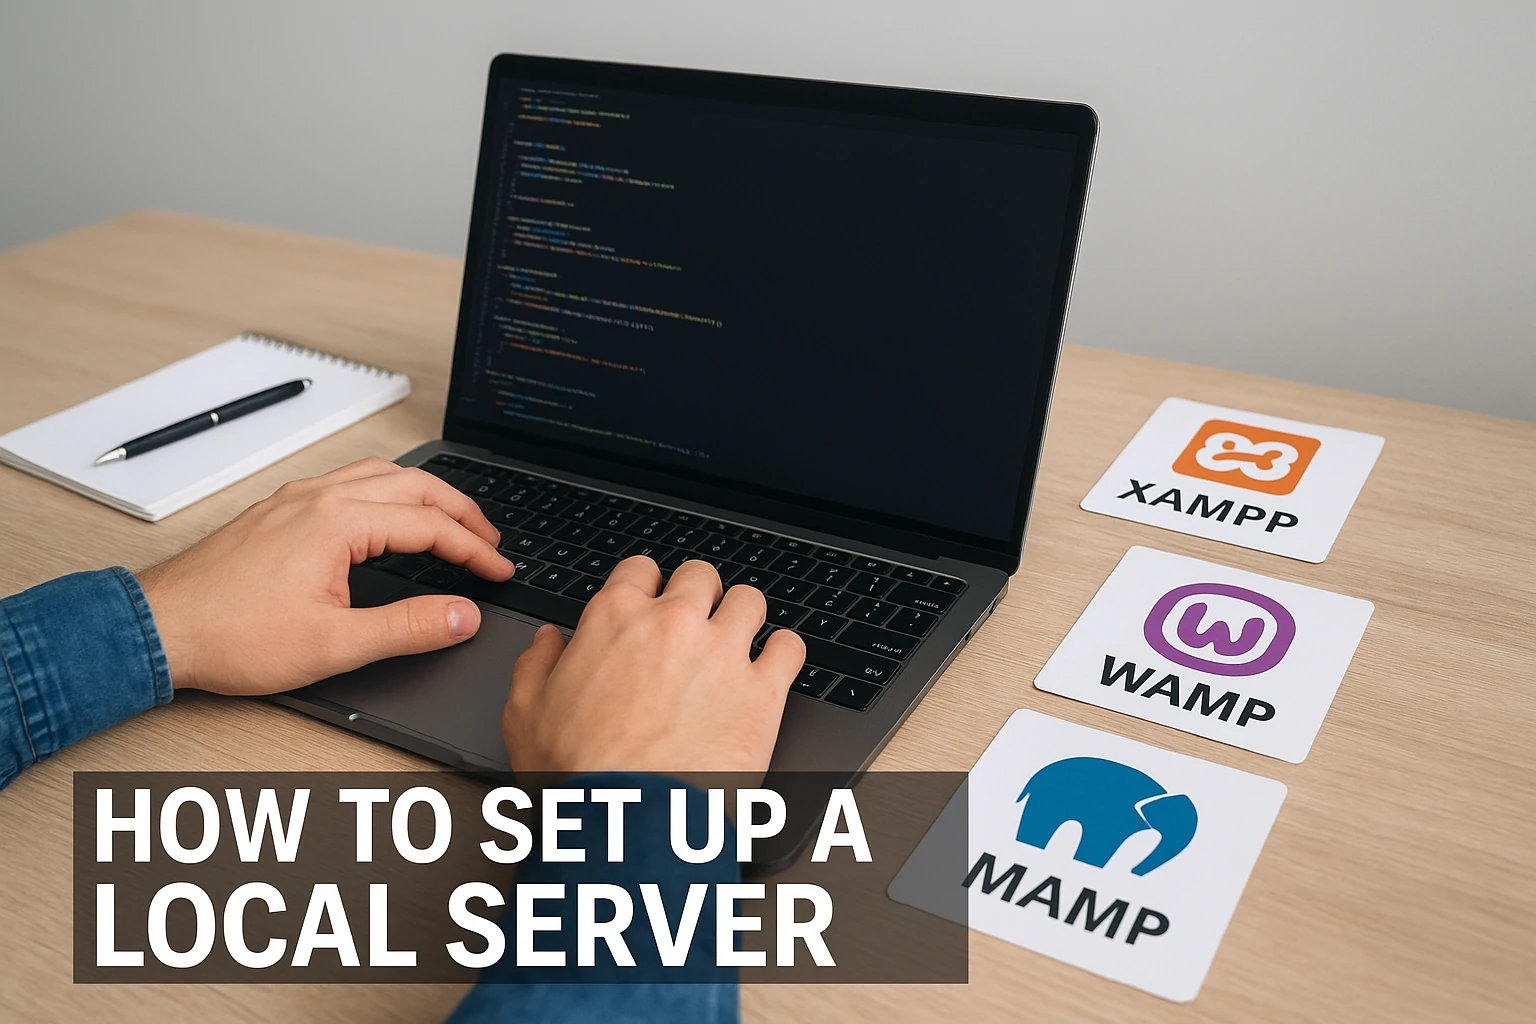
In this detailed guide, you’ll learn how to configure a local server using three of the most popular tools available today: XAMPP, WAMP, and MAMP. Each platform is simple to install and provides an all-in-one environment for Apache, PHP, and MySQL.
Anúncios
Understanding the Role of a Local Server
A local server also provides complete control over your development environment. You can freely configure PHP versions, enable or disable extensions, and adjust settings such as memory limits or execution time to meet the specific needs of your project. This flexibility is something most shared hosting plans don’t allow. It enables developers to experiment safely, learn server management skills, and optimize performance before launching a project live.

Moreover, a local server serves as a valuable training ground for troubleshooting and testing. Developers can simulate various conditions—like database errors, missing dependencies, or permission issues—without risking real-world consequences. By understanding how their applications behave in a local environment, they can anticipate potential issues, strengthen security measures, and ensure a smoother transition when deploying to production servers.
Anúncios
Key Benefits:
-
Test websites without going live
-
Experiment with code securely
-
Speed up development workflow
-
Avoid hosting costs during testing
-
Easily manage databases with phpMyAdmin
Option 1: Setting Up XAMPP
XAMPP is one of the most popular local server tools, available for Windows, macOS, and Linux. It stands for Cross-platform, Apache, MariaDB, PHP, and Perl.
Step 1: Download XAMPP
Visit the official Apache Friends website and choose the version compatible with your operating system.
Step 2: Install XAMPP
After downloading, launch the installer. Keep all default components checked unless you have specific needs. Follow the on-screen instructions and complete the installation.
Step 3: Launch XAMPP Control Panel
Open the XAMPP Control Panel. Start both Apache and MySQL modules. You should see green indicators showing that the services are running.
Step 4: Test Localhost
Open your browser and go to http://localhost. If everything is configured correctly, you’ll see the XAMPP dashboard.
Step 5: Create a Project Folder
Place your website files in the htdocs directory located inside the XAMPP installation folder. For example:C:\xampp\htdocs\myproject.
Then access it by visiting http://localhost/myproject.
Also read: How do I find my localhost URL?
Option 2: Setting Up WAMP
WAMP is designed for Windows users. The acronym stands for Windows, Apache, MySQL, and PHP.
Step 1: Download WAMP
Go to the official WAMPServer website and download the version that matches your Windows system (64-bit or 32-bit).
Step 2: Install WAMP
Run the installer and follow the steps. Choose the default options unless you want to customize the directories.
Step 3: Launch WAMP
After installation, start WAMP. Its icon will appear in the system tray. A green icon means all services are running correctly.
Step 4: Access Localhost
Open your browser and visit http://localhost. You’ll see the WAMP homepage with tools like phpMyAdmin.
Step 5: Create a Project
Your web files should be placed in the www directory within the WAMP installation folder. You can then access your site at http://localhost/yourproject.
Option 3: Setting Up MAMP
MAMP is a great choice for macOS users, though it also offers a Windows version. The name stands for Macintosh, Apache, MySQL, and PHP.
Step 1: Download MAMP
Go to MAMP’s official website and download the free version.
Step 2: Install MAMP
Drag the MAMP folder to your Applications directory and open it.
Step 3: Start the Servers
In the MAMP control window, click Start Servers. Both Apache and MySQL will launch automatically.
Step 4: Test Localhost
Open your browser and type http://localhost:8888. You’ll see the MAMP start page confirming that the server is running.
Step 5: Add Your Project
Create a new folder for your site inside the htdocs directory in MAMP.
For instance, Applications/MAMP/htdocs/myproject.
You can then access it through http://localhost:8888/myproject.
Also read: Which button is used to view the results of a query?
Configuring phpMyAdmin
phpMyAdmin is included in all three tools. It allows you to manage databases visually. To access it, type:http://localhost/phpmyadmin

You can create new databases, import SQL files, or manage users and permissions easily.
Tip: Always back up your databases before making changes.
Troubleshooting Common Issues
1. Apache or MySQL Won’t Start
This issue usually occurs when another service is using the same ports (80 or 443). You can change the ports in the configuration settings.
2. Blank Page or “Connection Refused”
Ensure Apache and MySQL are running. Clear your browser cache and restart the control panel.
3. PHP Version Conflicts
You can switch between PHP versions in both XAMPP and MAMP if you need compatibility for older projects.
Optimizing Your Local Server for Development
Enable Error Reporting
Activate PHP error reporting to debug issues faster. In your php.ini file, make sure the following lines are set:
Use Virtual Hosts
Create custom domains for your local projects (e.g., http://myapp.local) for easier access and better organization.
Test CMS Platforms
Local servers are perfect for installing WordPress or Drupal. You can experiment freely before deploying online.
Final Thoughts
Setting up a local server is essential for any modern web developer. Whether you choose XAMPP, WAMP, or MAMP, each tool provides a secure and efficient environment to code, test, and debug your projects before publishing them.
With this step-by-step guide, you now have the foundation to install, configure, and optimize your own local server setup. Remember to explore advanced features like SSL, virtual hosts, and PHP version switching to get the most out of your environment.
If you are new to web development, start small. Create a simple PHP file, test your code locally, and enjoy the freedom of developing without breaking your live site.