Anúncios
Accidentally deleting an important file can feel like a nightmare. Whether it’s a work document, cherished photo, or critical project folder, losing data can disrupt your workflow and peace of mind. The good news is that, in most cases, your files are not truly gone — they can often be recovered with the right tools and methods.
In this complete guide, you’ll learn how to recover deleted files on both Windows and macOS, using built-in recovery options, backups, and professional data recovery software. We’ll also explore the best practices to prevent data loss in the future.
Anúncios
Understanding How File Deletion Works
When you delete a file, your operating system doesn’t immediately erase it from your hard drive. Instead, it simply removes the reference to that file from the system’s index — the digital “map” that tells your computer where everything is stored. The file’s actual data remains on the disk until it’s overwritten by new information.

This is why speed is essential when trying to recover deleted files. The longer you wait, the higher the chance that the deleted data will be replaced by something else, making recovery nearly impossible. Think of your hard drive like a library: deleting a file is like removing the card from the catalog, but the book is still on the shelf — at least for a while.
Anúncios
Modern operating systems also use different file systems (like NTFS on Windows and APFS on macOS), each with its own way of managing deletions and storage space. For instance, SSDs (solid-state drives) operate differently from HDDs. They use a process called TRIM, which automatically clears unused data blocks to maintain speed and efficiency. While this boosts performance, it can make file recovery more difficult if TRIM has already wiped the deleted data sectors.
Understanding these mechanics helps explain why traditional recovery methods may not always succeed. It also underscores the importance of maintaining regular backups and acting immediately after accidental deletion. In short, when it comes to file recovery, knowledge and timing are everything.
Also read: How to Get Rid of a Virus on Mac or PC
Recovering Deleted Files on Windows
1. Check the Recycle Bin
The first step is simple but often overlooked. Open your Recycle Bin on the desktop and look for the deleted file. If found, right-click and select Restore. The file will return to its original location.
2. Restore from File History
If the file is not in the Recycle Bin, Windows’ File History may have a backup.
-
Go to Control Panel > File History
-
Choose Restore personal files
-
Browse for your deleted file and click Restore
If File History wasn’t set up beforehand, this option won’t be available, which is why proactive backups are essential.
3. Use Previous Versions
Windows can sometimes create automatic restore points, which include snapshots of files and folders.
-
Right-click the folder where your file was stored
-
Choose Properties > Previous Versions
-
Select a version and click Restore
4. Try Windows File Recovery Tool
Microsoft offers a free command-line utility called Windows File Recovery that can retrieve files from hard drives, SSDs, and USB devices.
You can install it from the Microsoft Store and use commands like:
This command attempts to recover all Word documents from drive C to D.
5. Third-Party Recovery Software
If built-in tools don’t work, consider professional recovery software. Popular and reliable options include:
-
Recuva
-
EaseUS Data Recovery Wizard
-
Disk Drill for Windows
-
Stellar Data Recovery
These tools scan your storage for remnants of deleted data and allow selective recovery of files, even from formatted drives or corrupted partitions.
Recovering Deleted Files on macOS
1. Check the Trash
Like Windows, macOS keeps deleted files in the Trash until it’s emptied. Open the Trash from the Dock, locate your file, right-click, and choose Put Back.
2. Restore from Time Machine
If you use Time Machine, Apple’s native backup solution, restoring files is straightforward:
-
Connect your Time Machine backup drive
-
Open the folder where the deleted file was located
-
Click the Time Machine icon in the menu bar and select Enter Time Machine
-
Browse through snapshots and click Restore
Also read: Why Is My Mac Running Slow? 10 Fixes to Speed It Up
3. Retrieve from iCloud Drive
If you’ve stored or synced files via iCloud, you may recover deleted files within 30 days:
-
Go to iCloud.com
-
Sign in and open iCloud Drive
-
Click Recently Deleted, select the files, and hit Recover
4. Use macOS Terminal Commands
Advanced users can attempt file recovery using the Terminal, though this is limited and not guaranteed. Commands like ls -a can help locate hidden files, while utilities such as fsck check the disk for recoverable data.
5. Professional macOS Recovery Tools
If all else fails, use third-party software such as:
-
Disk Drill for Mac
-
EaseUS Data Recovery Wizard for Mac
-
PhotoRec
These applications scan for deleted files and allow recovery from internal drives, external disks, and even SD cards.
Cloud Storage and Cross-Platform Recovery
Many users today rely on cloud-based storage like Google Drive, OneDrive, or Dropbox. These platforms maintain their own “trash” or “deleted files” folders where you can restore data directly online.
-
Google Drive: Go to the Trash tab and click Restore.
-
Dropbox: Visit Deleted Files and recover any file within 30 days.
-
OneDrive: Check the Recycle Bin for recently deleted files.
This is one of the safest ways to prevent permanent data loss, as files are continuously synced and backed up remotely.
Best Practices to Prevent Future Data Loss
-
Enable automatic backups: Use File History or Time Machine.
-
Use cloud storage: Keep critical files synced with Google Drive or OneDrive.
-
Avoid defragmenting drives after deletion: It can overwrite recoverable data.
-
Keep recovery software ready: Installing tools like Recuva or Disk Drill before you need them can save time.
-
Create restore points regularly: System snapshots can be lifesavers.
-
Double-check before emptying Trash or Recycle Bin.

Common Mistakes to Avoid During File Recovery
-
Continuing to use the same drive: Every new file saved risks overwriting deleted data.
-
Installing recovery tools on the same drive: Always install software on a different partition or external drive.
-
Ignoring early signs of disk failure: Slow performance or frequent crashes might indicate physical drive issues — act quickly.
-

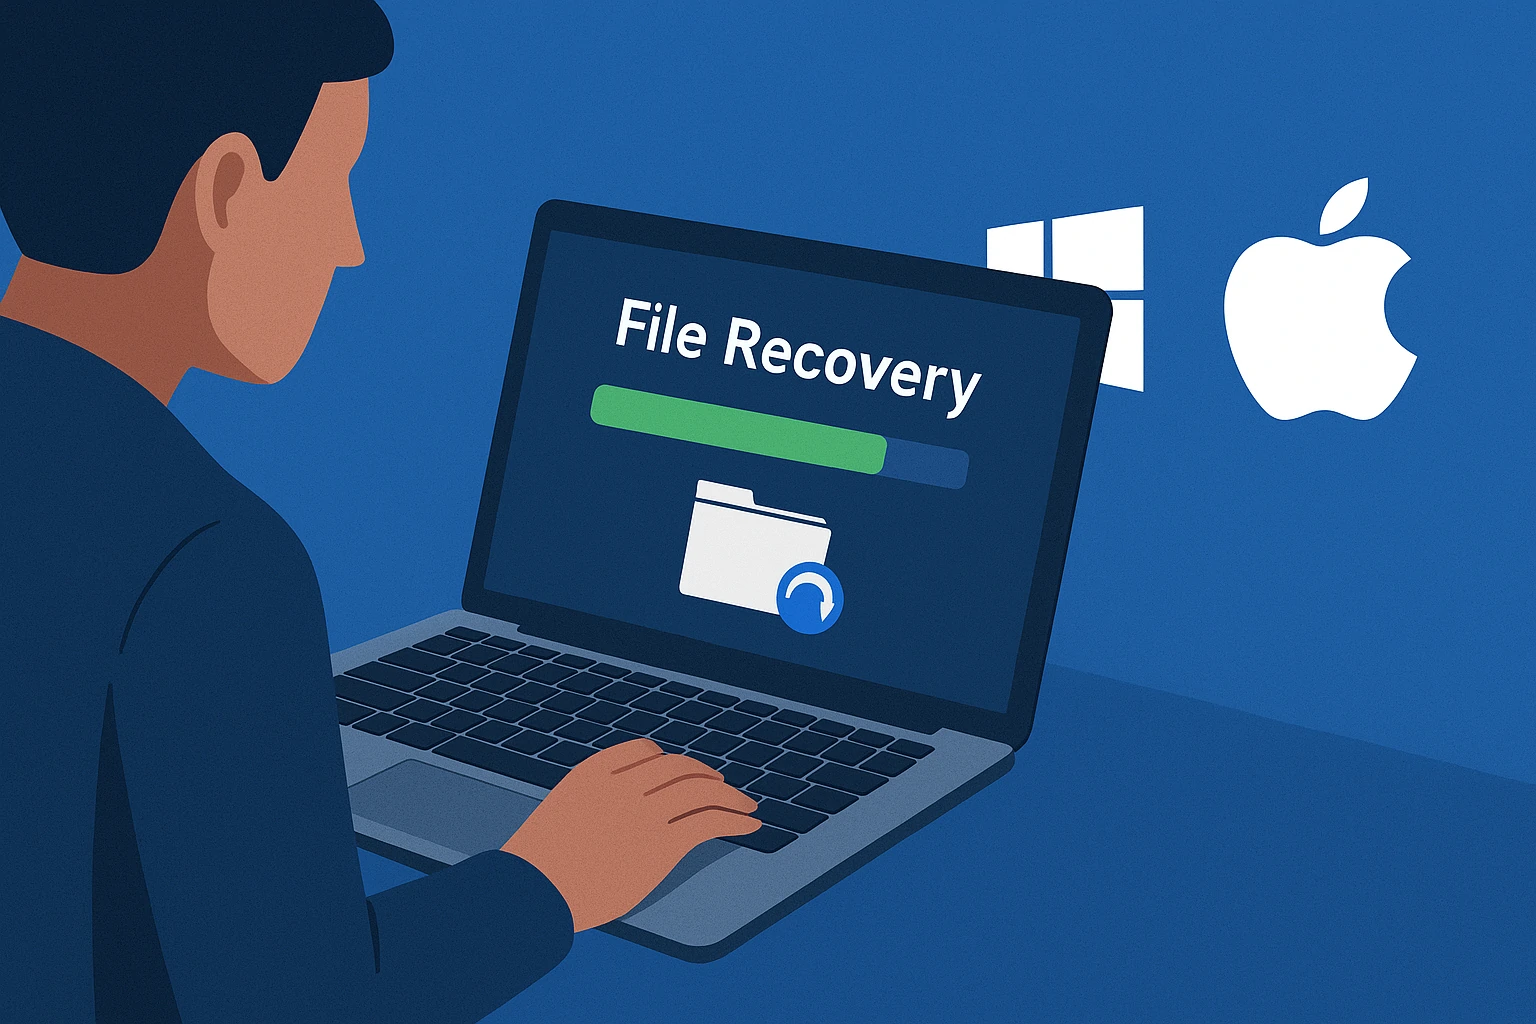
Recovering Deleted Files on Windows and macOS
When to Contact a Professional
If your data is mission-critical, or your hard drive shows physical damage (unusual noises, failure to mount, etc.), contact a professional data recovery service.
Companies like DriveSavers or Ontrack offer advanced recovery in cleanroom environments. These services can be expensive, but they are often the only option for complex data loss cases.
Also read: Fix Physical Memory Dump Error on Windows
Conclusion
Data loss can happen to anyone, but panic doesn’t have to be part of the process. By using the recovery methods built into Windows and macOS, along with reliable backup habits and data recovery tools, you can protect your valuable information from being lost forever. Remember: prevention is the best protection — always back up your files and stay prepared for unexpected deletions.